Keyframing
Grouping
Audio
'U' - reveals all animated properties
- moving at constant speed > unnatural movement
- Things don't realistically move in this way, they build momentum
accelerating & decelerating
> dots on motion path represent frames
(acceleration) < easing in & out >
highlight first keyframe
shape of keyframe -
-positioning of frames is no longer the same along the motion path.
decelerate > ease in to last keyframe
applying ease out and ease in just select | easy ease |
Graph editor.
click the graph editor icon above the timeline
shows the speed of actions in the composition on a graph.
graph editor also allows you to make changes to keyframes
Can go straight to the graph editor to alter speed - No need to use keyframe assistant...
doesn't only apply to position
pendulum...
> double click ellipse tool with a layer selected to create a circular mask.
Rotation...
'Y' activates pan behind tool.
move the anchor point to a position where the top of a pendulum would be.
edit value graph - edit speed graph
Simplifying complicated comps.
Animating multiple layers keeping them in position relative to each other.
[ establishing parent child relationships...
> allows you to link layers together.
select all layers - change parent to layer you want them to be linked to.
>all move relative
>all rotate around the same anchor point
>all scale as a group
Parent & child
> child layer can move independently but will always be bound to the parent layer
> child layer can still be animated but will always move relative to the position of the parent layer.
layer > transform > auto orient.
this makes the animated element automatically orient itself relative to the path it's on.
Set keyframes to rove across time by right clicking them
> sets position but doesn't effect the speed graph
Nesting compositions
placing compositions inside another
Layer > pre-compose > shift + command + C
Puts all the selected layers into a new composition > simplifies timeline
Changing settings in new composition will automatically update them for the composition it's nested within.
> working in this way means comps don't always have to be PAL D1/DV widescreen square pixel and can be put it at almost any size.
>collapse transformations.
means that it ignores the original composition boundary and all items/layers will stay fully visible.
Audio
Doesn't matter where audio sits in the layers stack...
RAM preview will play the audio (space bar doesn't)
position - volumes etc
when rendering with audio > tick audio output in output module settings.

Showing posts with label software workshop. Show all posts
Showing posts with label software workshop. Show all posts
Tuesday, 24 January 2012

Tuesday, 17 January 2012
After effects Workshop 4
TEXT WITHIN AFTER EFFECTS
double clicking selects all of the text
> character palette then lets you change text attributes freely.
Anchor point of text layer starts in the bottom left corner of the text itself.
Moving the anchor point stays relative to the layer ie the layer moves but the anchor point stay in the same place.
Y > pan behind tool .
means you can reposition the anchor point behind the item.
- text properties
Source text > allows to change content and formatting of the text over time.
Also allows change in colour.
Animate >
range selector
choosing how much of the text you want to be affected by a change in property.
Starts in %
> advanced - units - percentage to index. (changes the units into individual characters.
mode > blend modes
amount > changes the amount of property change
smoothness > how text changes between states.
Animating scale.
> More options - anchor point grouping > character // line // word // all.
range selector
> start
> end } these will animate the text.
> offset
adding another animator allows you to change another property.
property tracking
delete properties with an animator using backspace.
Adding > fill colour RGB
decrease the smoothness to five no fading of colour.
Easily remove properties whilst keeping others using backspace.
text done in this way is also always editable.
Create marks in after effects using shape or pen tool - paths
Audio file formats
- aiff // wav
change these for tracks using quicktime player 7.
double clicking selects all of the text
> character palette then lets you change text attributes freely.
Anchor point of text layer starts in the bottom left corner of the text itself.
Moving the anchor point stays relative to the layer ie the layer moves but the anchor point stay in the same place.
Y > pan behind tool .
means you can reposition the anchor point behind the item.
- text properties
Source text > allows to change content and formatting of the text over time.
Also allows change in colour.
Animate >
range selector
choosing how much of the text you want to be affected by a change in property.
Starts in %
> advanced - units - percentage to index. (changes the units into individual characters.
mode > blend modes
amount > changes the amount of property change
smoothness > how text changes between states.
Animating scale.
> More options - anchor point grouping > character // line // word // all.
range selector
> start
> end } these will animate the text.
> offset
adding another animator allows you to change another property.
property tracking
delete properties with an animator using backspace.
Adding > fill colour RGB
decrease the smoothness to five no fading of colour.
Easily remove properties whilst keeping others using backspace.
text done in this way is also always editable.
Create marks in after effects using shape or pen tool - paths
Audio file formats
- aiff // wav
change these for tracks using quicktime player 7.
Wednesday, 14 December 2011
After Effect Workshop 3
Keyframe interpolation
Using illustrator paths.
Interpolate > to insert between fixed points
> bezier curves.
> Vertices/Vertex } Not anchor point, but just like them
> pen tool
convert vertex tool
to change the interpolation of bezier curves.


> animation > keyframe interpolation

Right click keyframe > keyframe interpolation.
> select multiples > change all at once
Hold keyframes
Select all keyframes > animation (or) right click > toggle hold keyframe.

Means there is no interpolation. Position is held on the keyframe until there is another. After effects doesn't interpolate anything inbetween so nothing happens there.
> Could use to animate the second hand on a clock
> Flashing or blinking.
File > import >

toggle hold keyframes > means there is just blinking.
Double click layers > opens layer in a new window.
Select all but first and last keyframe > right click > keyframe interpolation > roving :
Lock to time > locked when it's created on the timeline until changed.
Rove across time > positions relative to the first & last keyframe.


Using illustrator.
> ellipsis in illustrator > create path...
Activate position > P > click stopwatch >
Layer uses shape as motion path!
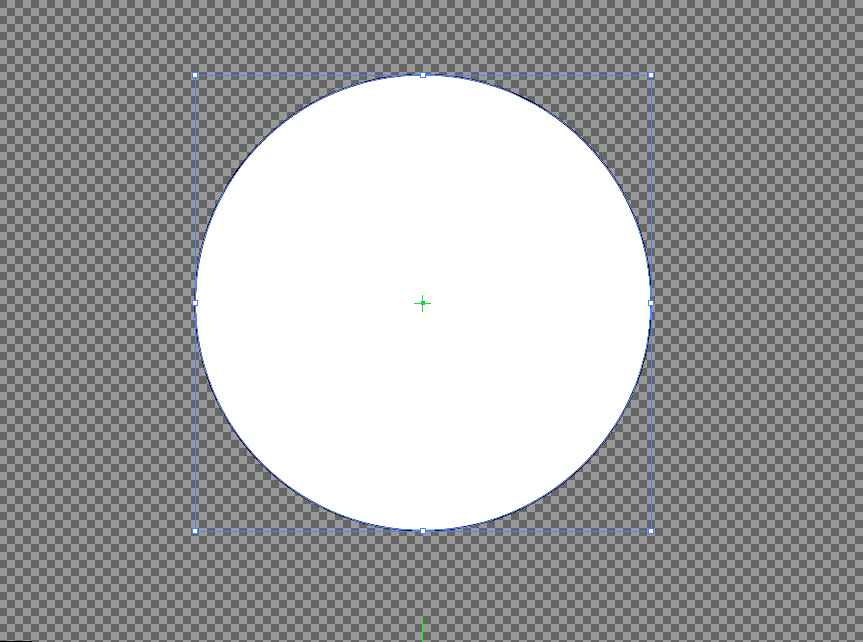


To change the direction the shape goes round the path.
> clockwise / anti-clockwise round path.
> select keyframes > animation > auto-orient.

> layer > New > solid > Make comp size - means it is the same size as the composition.
select layer > draw ellipse > creates mask on that layer.
Mask properties.


Double clicking the edge of the mask allows working with the bounding box.
can apply keyframes to the mask...


Create new solid > make comp size > Paste illustrator artwork > replicates artwork as mask.
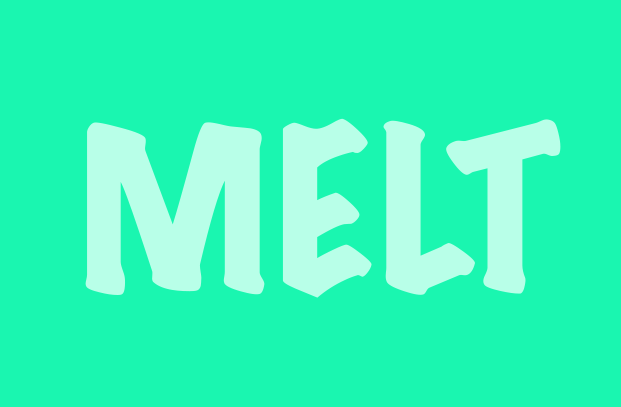

Move the points of the artwork with keyframes to animate the word.

> specifying transparency has to sit on top
matte.
'toggle switches/modes'
> trkmat
can only be set on a layer with one above it.
> alpha matte.


Tuesday, 6 December 2011
After effects workshop 2
- one window - referred to as the workspace.

PAL Video standard
This sets the width and height in pixels.
1050 x 576 px frame size (specified by PAL)
25 frames per second
(25 still images each second)
Similarly to indesign - most imagery will be created in illustrator or photoshop, then placed into the animation.
Photoshop
RGB colour mode.
72 DPI } for screen
measurements in pixels
Preset > film&video
>PAL D1/DV Widescreen square pixel > same as in after effects
Allows you to create files exactly the same size and specification as in after effects.
Guides on the document specify zones.
(action & title safe)

Simply save as psd to work with the artwork in after effects.
> make sure photoshop artwork is going in at the correct size, Don't want to enlarge in afetr effects as it will pixelate!
File > import > file
footage files occupy one layer
Same as indesign > keep everything together in a folder.
Once image is imported
> drag into composition manually
> drag onto timeline > is centred in composition.
Composition > composition settings > Allows to change the composition whilst working.


Working with layers in photoshop > and in after effects
Anything you want to animate > put on a new layer.
Can have any number of compositions in a project.
Double clicking a composition in the project bar will open it.

position key frame multiple layers.
> p
> click stop - watch thing } have the time indicator where you want the key frame.
> Makes a key frame for them all
Importing > composition > Retain layer sizes > keeps the anchor point at the centre of each layer.
Illustrator
> new > video & film (document profile) > PAL D1/DV Widescreen.
Leave as Ai > footage file.
Vector artwork is infinitely scaleble.
After effects rasterizes vectors
Layer switches >
Shy switch > hides layer once you've finished with them, disappear from the timeline but stay in the composition. Helps organise.

Quality switch > lowering layer quality will make it run more quickly & smoother > won't affect the finished composition.

Effects switch > turns on/off effects applied to layers.

Motion Blur switch > applies to any motion in a composition > will increase preview times.

Adjustment layer switch > Turn layers into an adjustment layer > use on solid layers to apply to whole frame > applies to all layers below it...

3-D layer switch > Allows you to work on another axis (x - y - z)

Continuously rasterize switch > After effects rasterizes it in every frame > vector capability is retained!


PAL Video standard
This sets the width and height in pixels.
1050 x 576 px frame size (specified by PAL)
25 frames per second
(25 still images each second)
Similarly to indesign - most imagery will be created in illustrator or photoshop, then placed into the animation.
Photoshop
RGB colour mode.
72 DPI } for screen
measurements in pixels
Preset > film&video
>PAL D1/DV Widescreen square pixel > same as in after effects
Allows you to create files exactly the same size and specification as in after effects.
Guides on the document specify zones.
(action & title safe)

Simply save as psd to work with the artwork in after effects.
> make sure photoshop artwork is going in at the correct size, Don't want to enlarge in afetr effects as it will pixelate!
File > import > file
footage files occupy one layer
Same as indesign > keep everything together in a folder.
Once image is imported
> drag into composition manually
> drag onto timeline > is centred in composition.
Composition > composition settings > Allows to change the composition whilst working.


Working with layers in photoshop > and in after effects
Anything you want to animate > put on a new layer.
Can have any number of compositions in a project.
Double clicking a composition in the project bar will open it.

position key frame multiple layers.
> p
> click stop - watch thing } have the time indicator where you want the key frame.
> Makes a key frame for them all
Importing > composition > Retain layer sizes > keeps the anchor point at the centre of each layer.
Illustrator
> new > video & film (document profile) > PAL D1/DV Widescreen.
Leave as Ai > footage file.
Vector artwork is infinitely scaleble.
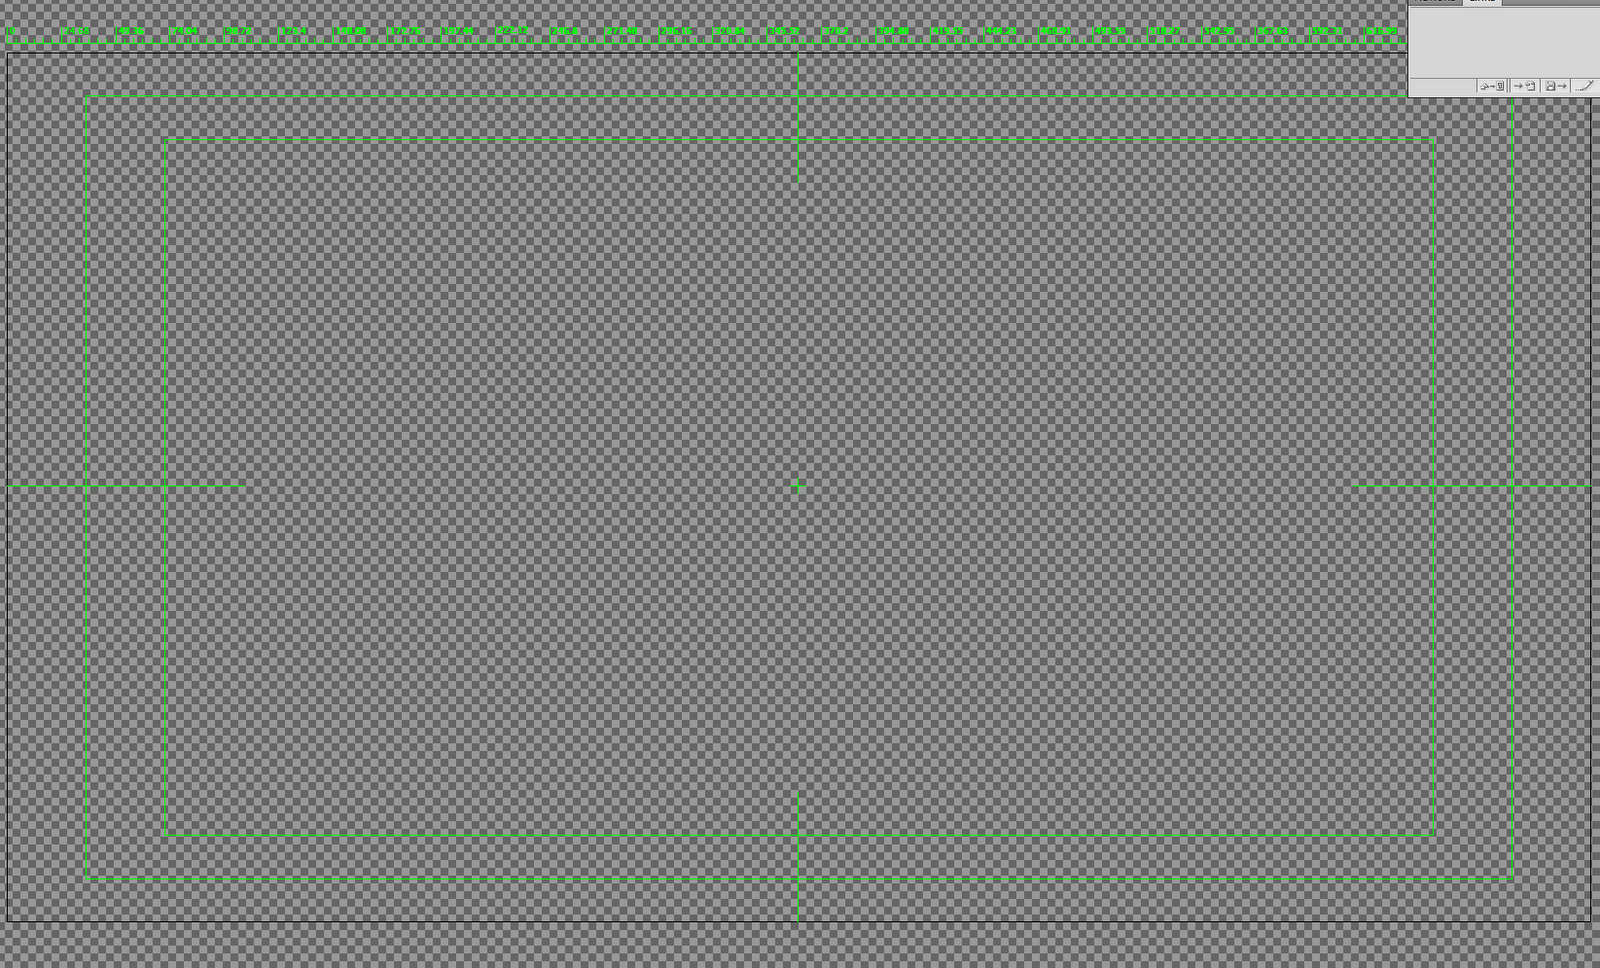
After effects rasterizes vectors
Layer switches >
Shy switch > hides layer once you've finished with them, disappear from the timeline but stay in the composition. Helps organise.
Quality switch > lowering layer quality will make it run more quickly & smoother > won't affect the finished composition.
Effects switch > turns on/off effects applied to layers.
Motion Blur switch > applies to any motion in a composition > will increase preview times.
Adjustment layer switch > Turn layers into an adjustment layer > use on solid layers to apply to whole frame > applies to all layers below it...
Continuously rasterize switch > After effects rasterizes it in every frame > vector capability is retained!
Tuesday, 29 November 2011
After Effects workshop 1
> Active window highlighted with yellow Outline
Composition > new composition
Preset : PAL D1/DV Widescreen square pixel
25fps for PAL
Standard fps for England.
Hours : Minutes : Seconds : frames
with RGB :
> Black represents nothing > additive colour mode
> opposite to print
Composition > composition settings > allows changing of composition
Layer > new > solid (to create a new layer/shape)
Dragging the block on the timeline allows you to simply change the amount of time it's on the screen/in the composition.
Current time indicator is a good way to check how the composition is looking
Pressing 'Space' plays through the composition, but for complicated compositions it can stutter & be slow!
Decreasing the quality will improve the realtime playback of the composition > will only affect on screen viewing, not the final rendered video.
Command + & - zoom in the composition window.
Zooming in on the timeline
>gray bar above
> dark gray bar below does the same (with mountains on)
Tilda key ( ~ ) maximises the selected panel.
Layers > transform
> allows you to alter the layer in a variety of ways.
Keyframe
> interprets what needs to happen between certain points to allow a change of shape etc.
to create the first keyframe.
> Note the position of the current time indicator > move it to where you want the keyframe
> click the stopwatch on the chosen transformation
> move the shape & the current time indicator.
The software fills in the gaps.
Can copy & paste key frames
Holding alt and dragging them allows you to change them relative to where you have them. If the timing of the elements is important.
Thick gray bar beneath the timeline
> work area
> allows you to loop stuff and restrict the rendering amount to reduce memory usage.
can decide on a shapes movement by altering the bezier curve.
Keyboard shortcuts.
> anchor point > A
> scale > S
> rotation > R
> opacity > T
> position > P
In > I
Out > O
} move to the exact in and out points of each layer.
Begin > B
End > N
} Moves to the beginning and the end of the work area.
shows all animated layer } U
shows all modified properties } Double tap U
Exporting
If it doesn't fill the duration.
Select longest object > O - N > moves the work area to the right place for the export.
Composition > add render queue
Output module > format > quicktime > format options
> H.264
Output to > user work > mov file
then save somewhere away from user work so it isn't deleted.
Untitled from Max Gregory on Vimeo.
The finished video from the session... amazing.
Composition > new composition
Preset : PAL D1/DV Widescreen square pixel
25fps for PAL
Standard fps for England.
Hours : Minutes : Seconds : frames
with RGB :
> Black represents nothing > additive colour mode
> opposite to print
Composition > composition settings > allows changing of composition
Layer > new > solid (to create a new layer/shape)
Dragging the block on the timeline allows you to simply change the amount of time it's on the screen/in the composition.
Current time indicator is a good way to check how the composition is looking
Pressing 'Space' plays through the composition, but for complicated compositions it can stutter & be slow!
Decreasing the quality will improve the realtime playback of the composition > will only affect on screen viewing, not the final rendered video.
Command + & - zoom in the composition window.
Zooming in on the timeline
>gray bar above
> dark gray bar below does the same (with mountains on)
Tilda key ( ~ ) maximises the selected panel.
Layers > transform
> allows you to alter the layer in a variety of ways.
Keyframe
> interprets what needs to happen between certain points to allow a change of shape etc.
to create the first keyframe.
> Note the position of the current time indicator > move it to where you want the keyframe
> click the stopwatch on the chosen transformation
> move the shape & the current time indicator.
The software fills in the gaps.
Can copy & paste key frames
Holding alt and dragging them allows you to change them relative to where you have them. If the timing of the elements is important.
Thick gray bar beneath the timeline
> work area
> allows you to loop stuff and restrict the rendering amount to reduce memory usage.
can decide on a shapes movement by altering the bezier curve.
Keyboard shortcuts.
> anchor point > A
> scale > S
> rotation > R
> opacity > T
> position > P
In > I
Out > O
} move to the exact in and out points of each layer.
Begin > B
End > N
} Moves to the beginning and the end of the work area.
shows all animated layer } U
shows all modified properties } Double tap U
Exporting
If it doesn't fill the duration.
Select longest object > O - N > moves the work area to the right place for the export.
Composition > add render queue
Output module > format > quicktime > format options
> H.264
Output to > user work > mov file
then save somewhere away from user work so it isn't deleted.
Untitled from Max Gregory on Vimeo.
The finished video from the session... amazing.
Tuesday, 18 October 2011
Software workshop 3 - indesign
99% of the time use a new 'document' book on indesign refers to something with hundreds of pages, isn't really necessary on the scale we're working.
Indesign books are very complex
Selecting size.
when opening a new document, choose the finished, trimmed size of whatever you are working on and printing. A4, A0 etc.

Bleed
- Compensates for cutting errors after printing.
- having bleed means there should be no white edges if it is slightly mis-aligned
- 3mm bleed is usually sufficient.
 All other factors when opening a document really depend on what you're creating.
(colums, gutters etc.)
Applying colour.
Shift - x
will switch between fill and outline in the picker.
Swatch palette is very similar to illustrator.

 These images look at the application of colours using colour books to both type and created artwork.
Moving artwork from photoshop
- CMYK or grayscale.
- 300dpi
- actual size (don't resize in indesign)
- Format - TIFF > PSD > psd will maintain transparencies.
Moving artwork from illustrator
- CMYK
- Format - Ai > transparency is maintained
- Doesn't matter what size as vector artwork can be resized.
Placing images
File > place
From PSD - swatched will be added to the documents palette. Can create border first to put image in or just place the image.
File > place > show import options
This allows detailed changing of file options like layers etc.
Links palette
- when placing an image into indesign, it simply establishes a link with the actual file.
- it's important to package everything and keep all your related files in one folder.
- packaging also means that if the original image is edited, it will automatically update.

An image of the links palette from my print top 10 booklet. As I have not yet packaged the document there are a few missing links, but I know where they are...obviously.
Alt + double clicking any image in the document will open it in the program it was created in.
Toning images
Has to be done from a grayscale image placed in indesign.
select the grayscale image > the image itself, not the frame
- then select a swatch from fills.
 The image above was created using this technique of applying a spot colour to a grayscale image, it works much like toning in photoshop however it isn't quite as editable and can only be done with one colour.
Seperations window
this allows you to look at the colour seperations in the image
 the full colour image with all the seperations visible.
 Cyan removed.
 cyan and magenta removed.
 just black and the spot colour.

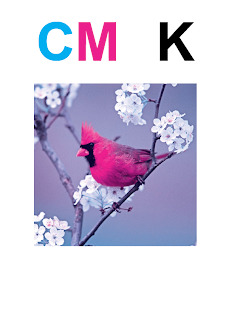 Yellow removed. I quite like this effect, especially on this image.
It is also possible to delete unused swatches using the seperations palette
Knockout & overprint.
Using seperations allows you to see colour 'knockouts'
this is where the colour is not overprinted as the colour printing on top is too light.

 This is what the knockout looked like for the colour selection above. showing where the green is removed to allow the orange to print.
 This is the seperations layers showing where the is too much ink, with the overprint preview, the red area refers to that where there'll be too much ink.
 Here are the colours without knockout, so they are overprinting. The problem may arise in this situation that there is too much ink on the paper.
 This shows the colours cyan, yellow and magenta applied normally, so each will knockout the other in order for them all to print normally.

 My finished indesign document with all the techniques from the workshop in one.
Indesign books are very complex
Selecting size.
when opening a new document, choose the finished, trimmed size of whatever you are working on and printing. A4, A0 etc.

Bleed
- Compensates for cutting errors after printing.
- having bleed means there should be no white edges if it is slightly mis-aligned
- 3mm bleed is usually sufficient.

(colums, gutters etc.)
Applying colour.
Shift - x
will switch between fill and outline in the picker.
Swatch palette is very similar to illustrator.


Moving artwork from photoshop
- CMYK or grayscale.
- 300dpi
- actual size (don't resize in indesign)
- Format - TIFF > PSD > psd will maintain transparencies.
Moving artwork from illustrator
- CMYK
- Format - Ai > transparency is maintained
- Doesn't matter what size as vector artwork can be resized.
Placing images
File > place
From PSD - swatched will be added to the documents palette. Can create border first to put image in or just place the image.
File > place > show import options
This allows detailed changing of file options like layers etc.
Links palette
- when placing an image into indesign, it simply establishes a link with the actual file.
- it's important to package everything and keep all your related files in one folder.
- packaging also means that if the original image is edited, it will automatically update.
An image of the links palette from my print top 10 booklet. As I have not yet packaged the document there are a few missing links, but I know where they are...obviously.
Alt + double clicking any image in the document will open it in the program it was created in.
Toning images
Has to be done from a grayscale image placed in indesign.
select the grayscale image > the image itself, not the frame
- then select a swatch from fills.

Seperations window
this allows you to look at the colour seperations in the image


It is also possible to delete unused swatches using the seperations palette
Knockout & overprint.
Using seperations allows you to see colour 'knockouts'
this is where the colour is not overprinted as the colour printing on top is too light.


Subscribe to:
Posts (Atom)